Autumn Crafternoon: Petite Pumpkins
- Rachel

- Oct 23, 2020
- 3 min read
Updated: Nov 5, 2020
Make a mini pumpkin display!
We've searched our remnant stash (almost all of it!) for an array of autumnal coloured fabrics in the hope that we can encourage you to have a go at sewing for yourself.
These little fabric packs have (almost) everything you need to make your own! So whether you're searching for an activity to keep the kids occupied during this longer-than-normal mid-term break, or a little something for your next 'crafty' Zoom catchup call - these little pumpkins will bring an extra bit of joy to these tough times.
Order your pack NOW and print of our pattern to have a go at sewing for yourself!
HOW TO:
(Before you begin, press fabrics if necessary. Press on the wrong side, especially orange crushed velvet fabric. Some remnants have labels and you may wish to remove these also 😊)
Print off the pattern sheet on our blog (see below) cut out paper shapes and pin paper pattern to matching size fabric squares. Cut around paper templates and remove pins so that you’re left with the fabric shapes. (Alternatively, find something circular in your home to trace around e.g dinner/side plates)
Once all your fabric shapes have been prepared, you’re ready to begin!
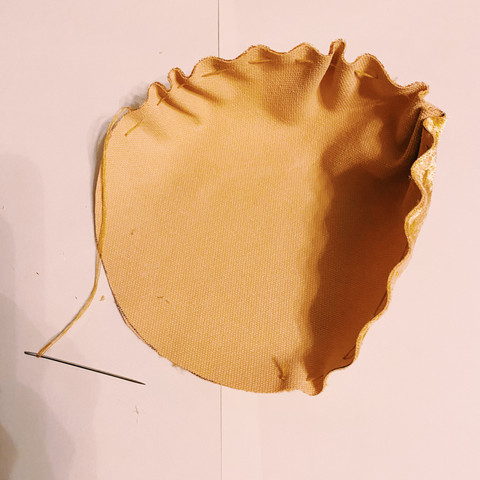
Prepare needle and thread. Use a double, double threaded needle (this way you’ll have 4 strands of thread for extra strength, unless you are using embroidery thread which usually has 6 strands) *Make sure your thread is long enough to sew around the complete circle*

Sew a running stitch at 0.5cm around edge of each fabric circle. Sew stitches approximately 1cm in length and 1cm apart.

Pull the thread gently to gather the fabric into a pumpkin shape. You might need to use your hands to help ease the heavier fabrics around the thread.
Begin to stuff your pumpkin. If you don’t have stuffing from a pillow or craft store, there are plenty of alternative options for making your own. For example, you can use old tights or socks, worn out clothes or plastic bags (just make sure they are clean and cut into small pieces!)

Once you are satisfied with the amount of stuffing in your pumpkin, pull the thread tight and secure stuffed shape with a double knot.

TOP TIP: The tighter you stuff your pumpkin and the tighter you pull the thread – the plumper your pumpkin will be!
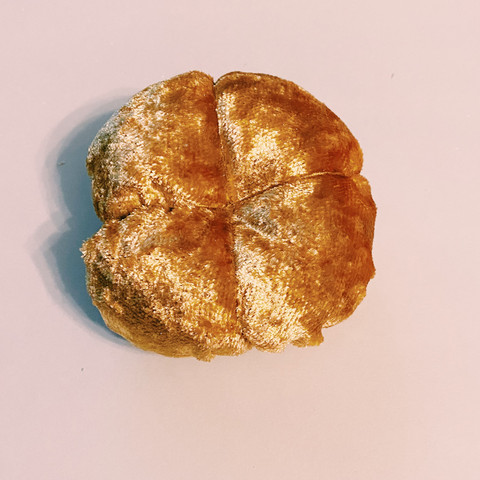
Begin to add the segments. (We recommend sewing 8 segments!) Again, for extra strength, sew segments using a doubled, double threaded needle. Thread your needle, and secure end of thread with a double knot. Begin sewing from the top of your pumpkin. Push your needle down through the middle and retrieve at other side, draw your thread up and over and back down into the middle of the pumpkin, repeat 8 times. (You don’t need one continuous thread for this part, just make sure each time you change thread, you secure your stitch with a double knot!)
TOP TIP: Sew first 4 segments by diving pumpkin into quarters and then sew the final 4 segments by dividing quarters in half!
You are almost there! Roll your stems and cut the leaves for your pumpkins (if you haven’t already)
Secure your rolled fabric stem with a stitch and attach to the pumpkin in the same way you added the segments. Attach leaf in this way too.
Finish off your pumpkin by hiding the stitching at the bottom with a circle of fabric neatly glued into place.
Repeat steps for each pumpkin & ta-da! Display & enjoy your handmade creations in your home.

Please DM or tag us in a photo of your finished creations @stitchesbycheryl #stitchesbycheryl
Ps. We would love to hear your feedback, please let us know if you would be interested in more mini sewing projects like this!
Until next time 😉
Rachel


Comments